Showing posts with label Projects. Show all posts

4th of July Tiles!

Before we know it the 4th of July will be here!! 

I have some 4th of July decor, games and treats coming right up this week so be sure to check back!

First up is the the some decor-

How about some 4th of July Tiles?


I LOVE red, white and blue!!!

I LOVE the 4th of July!!!

and

I LOVE the good 'ol USA!!!

What are your plans for this holiday weekend?

Tile Art

I was inspired way back in October by this post from While He Was Napping.. and decided to make my own. They were so easy that I just had to continue for every Holiday!! So.. this year the first Wednesday of every month with have the designs for 4 tiles for you to make for your home!!

Materials Needed:

4 - 4 inch tiles
Spray paint (if desired)
Mod podge
Tile images (link below)
Ribbon/ yard/ anything type of string you desire
Hot Glue gun
any embellishment you want


So take your tiles and spray paint them a different color if you wish. Mine were green and white so I just left them alone for January.

Apply mod podge to the tile- a little goes a long way!!

Apply printed image and smooth out.

When dried, turn over and hot glue ribbon/yarn/string to hang it up with.

Embellish if you wish- I am sort of a plain and simple girl myself

Display for everyone to see and adore!!

Set 1


Set 2


Hope you enjoy!!

Please comment if you download :)

Made with images created by Summer Driggs @ Summertime Designs

Menu Board Pics

Hear are they Halloween days of the week that I created!
All images are 4x6


Thanks to Summer Designs and Crazy 4 Monograms for the kits!


Halloween Menu Board

So I finally broke down and made a menu board. I have wanted one for a while and I had looked at all the different blogs with their ideas but I just couldn't find one that worked for me (or that I had the supplies on hand). Today it just all came together. I kept walking past a picture frame I got for 25 cents at a yard sale this summer wondering what pictures I was going to put in it... but today the light bulb came on! I could use this for my menu board and it would be cute because I could customize it every month and change it whenever I was getting 'board; with it! :) So here it was I did (Sorry I didn't take pictures) The frame had 8- 4x6 picture frame spots. I created 7 cards (one for each day of the week ) and 1 card to celebrate the month (so Halloween) and printed them out on just plain paper, stuck them in the frame and used a dry erase marker to write on the glass! Simple, easy and super cute ( my opinion! ) This could be done with any picture frame so be imaginative and show us what you can do!

Here is the finished product with next weeks menu on it! Isn't it cute? and so festive too!!

CLICK HERE for the images used:)

Make your own Nursing Pads

Now that Ammon is here, I am back to nursing and realized (again) just how stupidly expensive nursing pads are! I rememberd how many times I just would have a permenant wet spot on my shirt and how embarrassing it was. So I got online and found some helpful tutorials on how to make your own!! Here is what I did and sooo far no leaks:)

Materials

Flannel-to wick moisture away from breast
Fleece-to prevent leakage
Thread

Directions

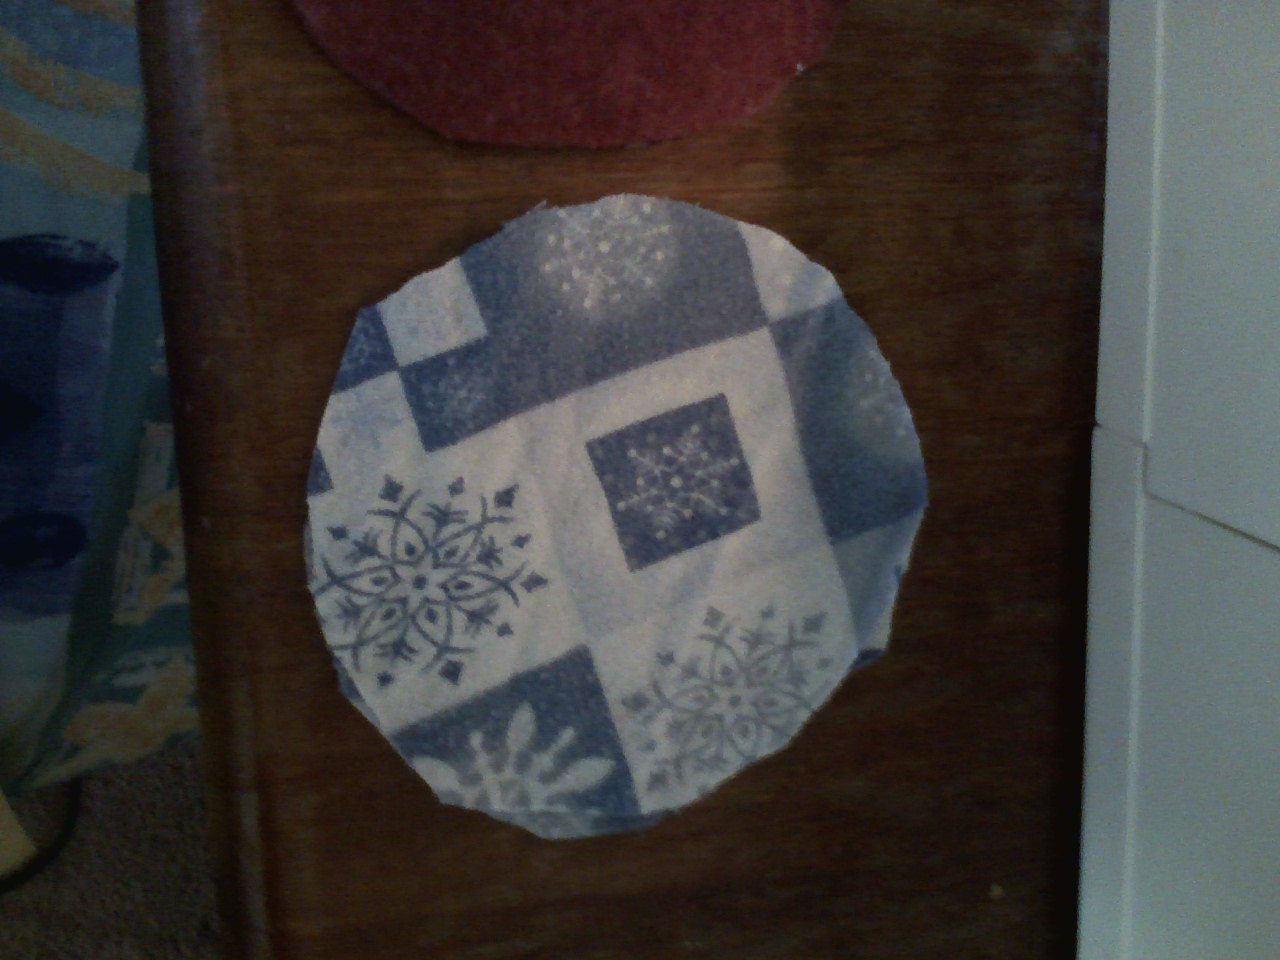
Using an old cd (I used a roll of masking tape) or anything circular, cut our three layers of flannel for each pad.

Cut out one circle of fleece.

Layer together and use a zigzag stitch around edge. Cut as close to seam as possible and you are done!!

To use place flannel against breast and fleece towards your shirt.

I have used mine for a few days and haven't had any leaks and they are soft and don't itch:) Hope this works for you! I used an old flannel sheet and some fleece scraps and made 8 sets to last me between washings.  

Crib or Rabbit Hutch?

So, if you have read my other blog you would know that we are the proud owners of two fairly big rabbits. Fudge and Domino. Nathan adores his "B's" and we are happy that he has some pets of his own. The only problem was... hutch? We got them for free and they came with a carrying cage but it was too tiny for them to stay in forever! They also were making a huge mess in my house (every morning was a cleaning job!) After we moved to Riverton last summer, Nathan's crib became very unsafe. It was old and the screws were getting stripped and so on. I was planning on using it for a bonfire or something when a brilliant idea hit me. Why not make it into a rabbit hutch? The frame is in good shape, it is just the right size and it would be really easy to make the bottom a few feet off the ground!! So that is is exaclty what we did with the help of my mom:).
So first we wired the corners so they would stay sturdy. Also so the drop side wouldn't try to fall (the inital problem making the crib unsafe!)

Then my mom cut some boards for slats and used zip ties to fasten wire around the bottom.


We used the crib bottom as a top that easily swings up and down thanks to the funky metal slats that held it in the bottom!

Ta Da! Rabbit Hutch!

Fudge enjoying the new life outside!

Domino chilling in the shade!

So, you never know what some craxy piece of furniture you have may become some day:)